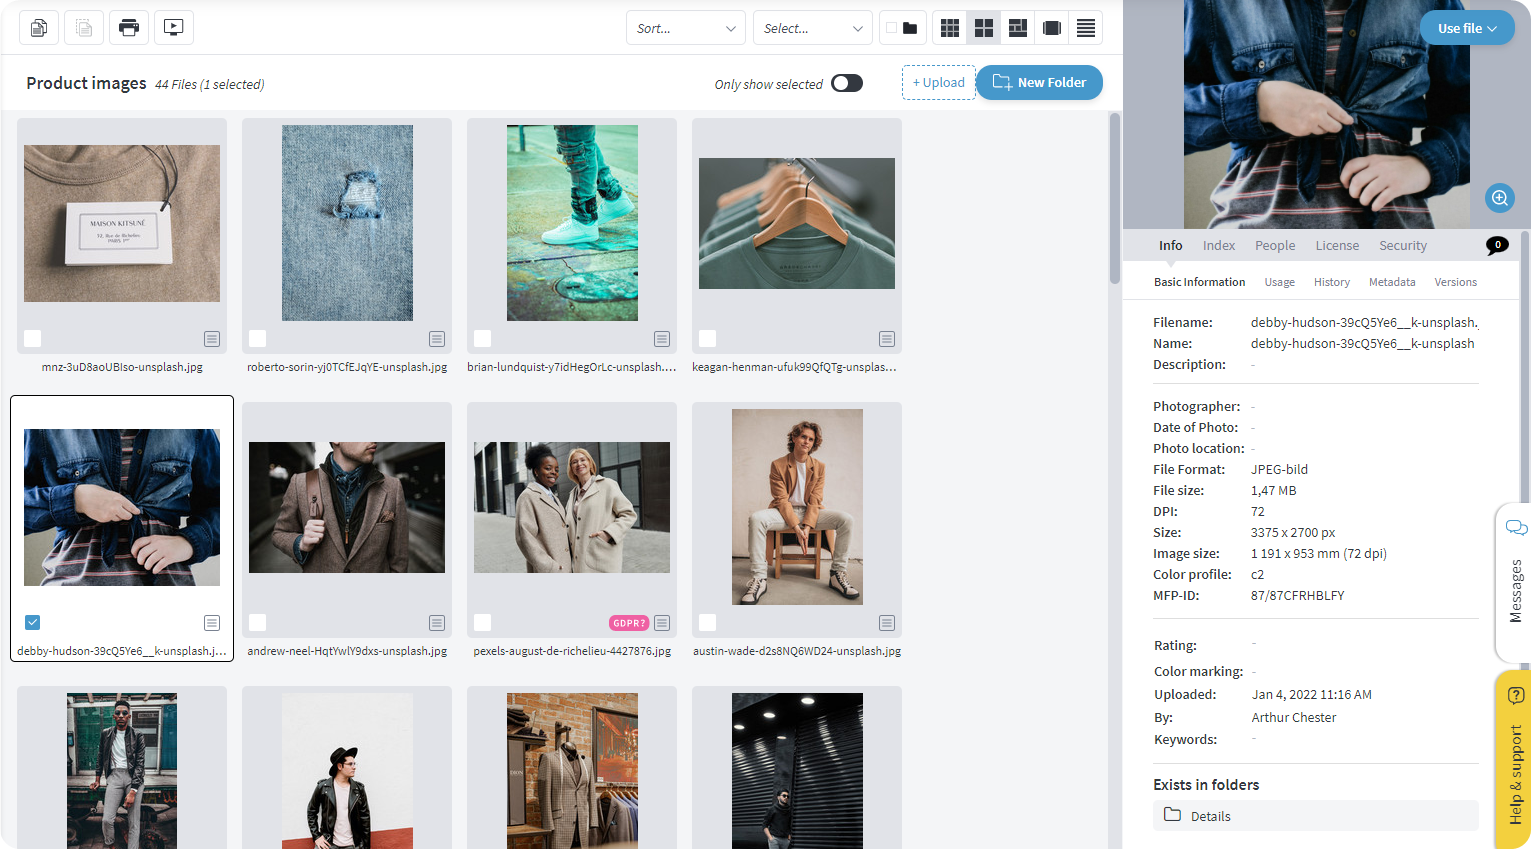
Information about what you see in the file view and how you can sort and select files.

The contents of the selected folder, or the result of a file search, are displayed here. Most common file formats are displayed directly with a thumbnail image, these include i.a. images, PDF documents (first page), movies (previews a frame 3 seconds into the movie), vector graphics (EPS, AI) and fonts. Movies, music and audio files can also be previewed in full length in the right panel when you select them (movies can be viewed in HD resolution, 720p, in full screen mode). All images are color profile managed and displayed with an embedded sRGB color profile to make the color reproduction as accurate as possible, even in a web browser.

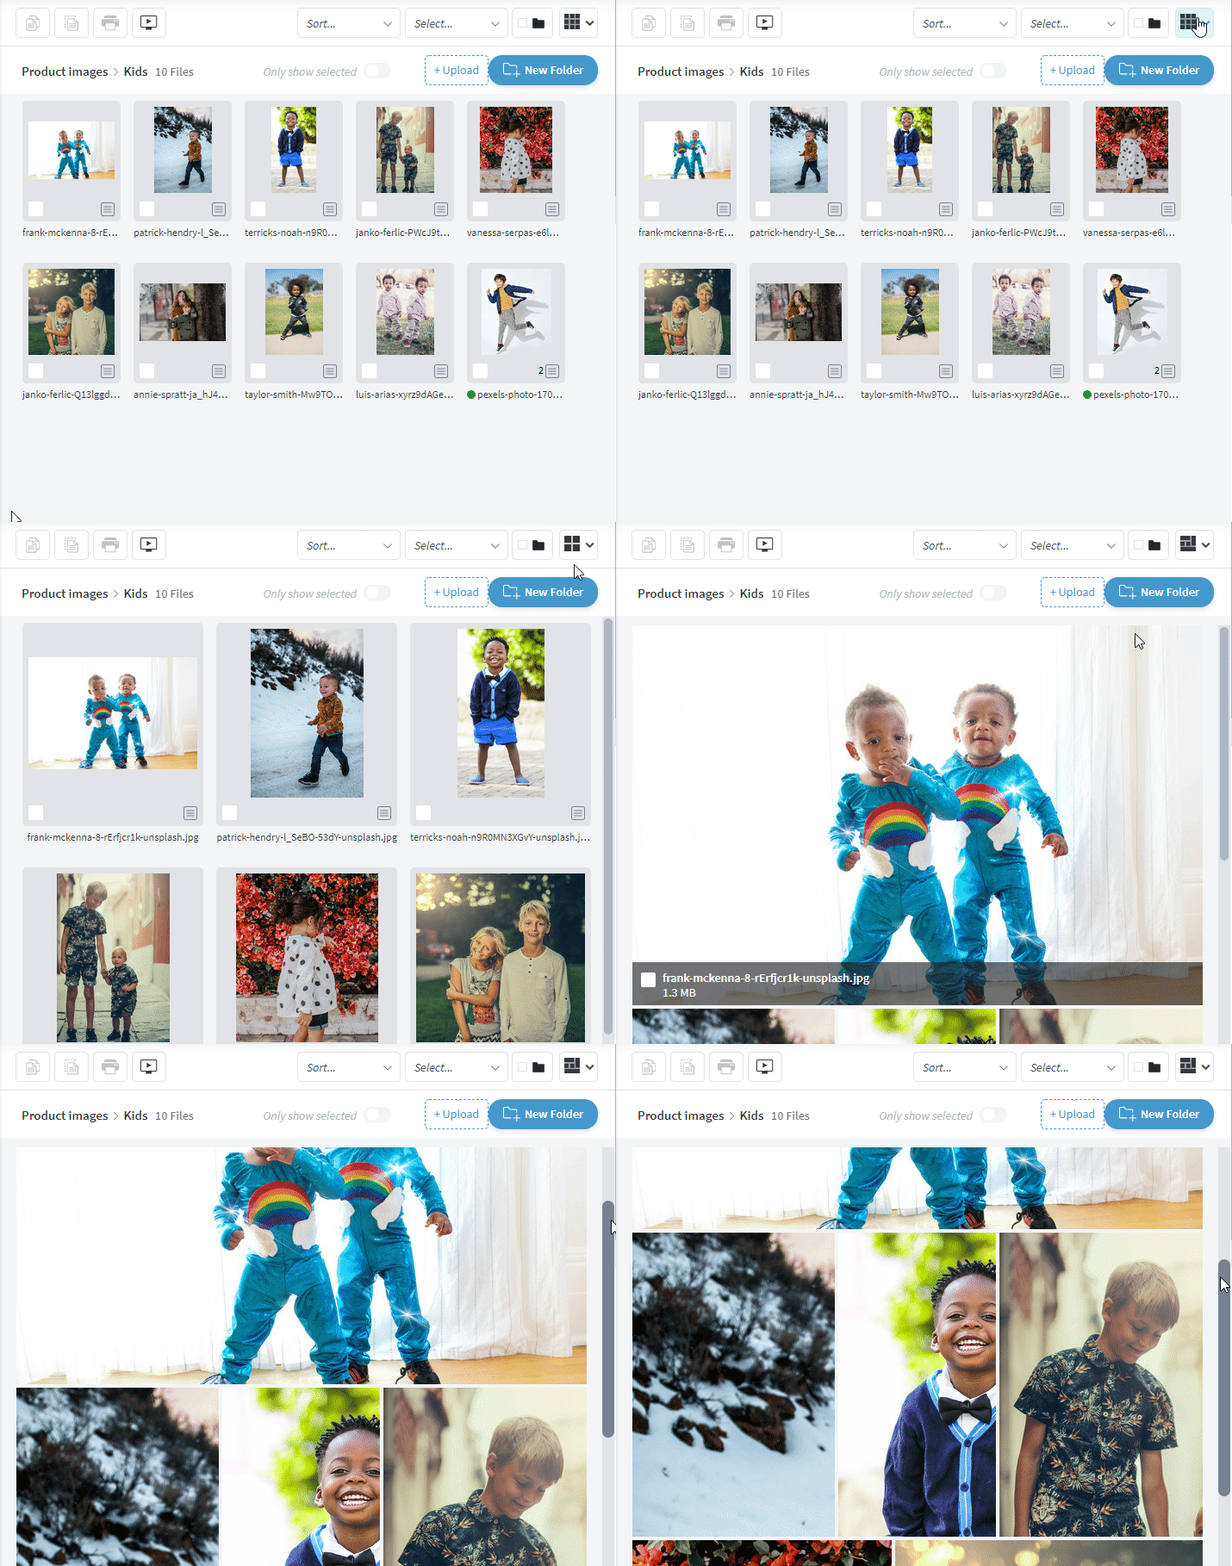
You can switch between five different view modes in the file view.
The file viewer has five different view modes. To quickly see the images larger or smaller, change the position through the menu at the far right of the display bar (or with the number keys 1-5).
Small Thumbnails (1)
The files are displayed with small thumbnails, to get as quick an overview as possible. Any color marking of the files is also shown here.
Large Thumbnails (2)
Slightly larger thumbnails, to get a good picture of the contents of the files. This also shows any color marking and rating (i.e. rating, 1-5 stars)
Image wall (3)
Here the pictures are shown as large as possible. The size of the images is adjusted to fill in the area in the best way. This means that images that are actually the same size can be displayed with slightly different sizes to fit better. No images are cropped however. Here, too, there is no page division, but all images run on a long flow.
Show list view (4)
The files are displayed in list view with information about file size, marking, rating, when and who uploaded the file.
One by one (5)
A large image is displayed with a dark background to see the subject as well as possible. This mode can also be accessed by clicking Show Larger Image in the right panel. From here you can click on the Back button at the top left if the image is allowed to return to the previous display mode.
The current display mode is retained when you go to other folders or do a search, unless the folder settings say otherwise. If you check Remember for this folder, that folder will always be displayed in the same way for you (but not for other users, if you want everyone to see the folder in a certain way, right-click on the folder and select "Edit folder") . When you create a new folder, you also get to choose how the content is displayed by default for that folder. By holding the mouse pointer over a file, you get quick information about the file (file name, file size, when and who uploaded the file, and any movie markings).
You can select one or more files at a time. There are several ways to select files.
• Click on a file to select only that file
• Click on the checkbox below the file and that file will be added to the selection, i.e. multiple files
marked. This can also be accomplished by holding down the Ctrl key (Option on Mac) while clicking on a file. (You do not need to click on the white box to select more)
• Select a file, then hold down the Shift key and click on the next file, and all files in between will be selected. (Same on MAC and PC)
• By selecting in the highlight menu in the display bar at the top. Here you can e.g. Mark all
files or no files, all portrait or landscape images etc.
The selection is retained even if you change the display mode or reorder the view. However, it disappears if you change the folder or perform a search. You can select a maximum of 1500 files at a time. By clicking on the Selected button in the list above, only the files that are selected are displayed. This is an efficient way to quickly select a number of files to work with (eg view all portrait images in one folder). Using the sort menu in the viewport, select how the files are sorted. By default the files are sorted by input date (i.e. when the file was loaded into the system, (not when the file was put in the current folder in Mediaflow), with the newest files at the top.
The Sort by color content option sorts the images accordingly main color shade. It is then sorted by the colors of the rainbow from red to blue and finally black and white
pictures.
