
Here you can find tips regarding web shares and what they can be used for.
Table of Contents:
How do I work with web shares?
How do I use a Web share with uploading enabled?
Worth knowing about web shares
Work with web shares
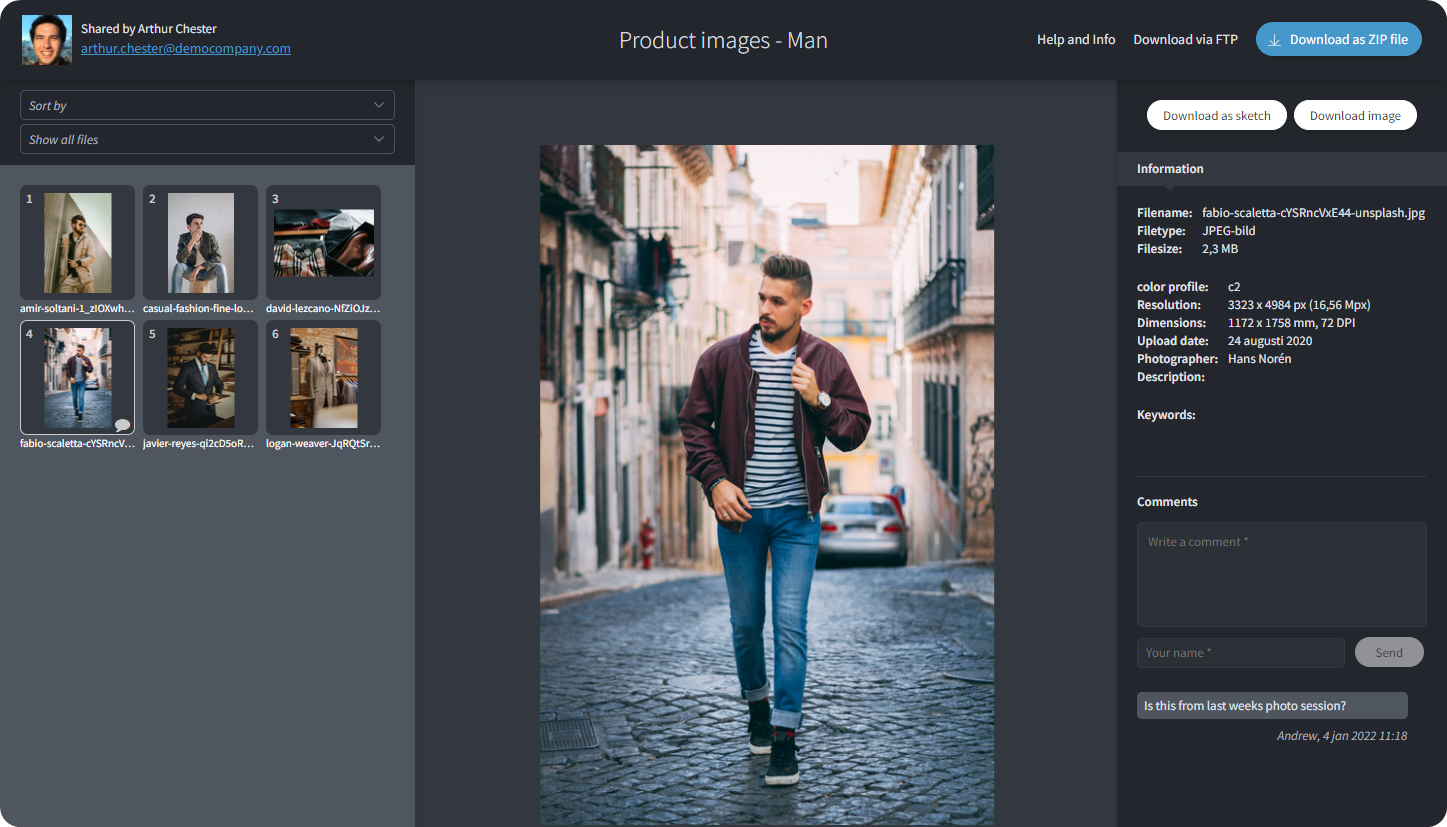
Web shares are a convenient way to distribute and share files with people outside of Mediaflow. When you create a web share, you get a web address that the recipient can reach without having to log in to the page. Depending on the settings you made when you created the web share, the recipient can make selections, download files, comment on files, and even upload files. An FTP account is automatically created for the current address that the recipient can reach via the link for easy download and upload of many or large files.
You can create web shares in four different ways, either by right-clicking on a folder, or via a selection or by selecting a number of files in a folder and right-clicking on these and finally via a selection on the portal. For the first two options, you have the option of leaving the web link active so that it is updated automatically when someone adds new files or deletes files in the folder or selection.
A web share created from a folder or a selection can be used for uploading, while a web share created from selected files in a folder cannot be used for uploading!
 In the main menu on the left you can now access "Shared". For example, you can choose to see all your active web shares, which folders they apply to and when they were visited by the recipient. From here you can also view the web link and change its settings. When you create a web link, you can choose which groups in Mediaflow should be able to see and manage the web shares.
How do I create a web share?
To create a web share, there are four ways to go about it.
 The first option is to right-click on a folder and select "Create Web share".
The second option is that you select different images for a selection, and create a web share via the selection. See picture below.

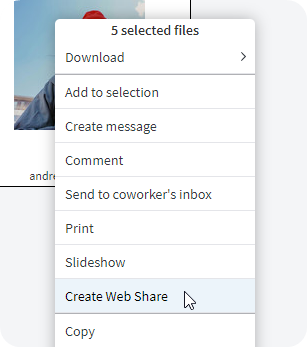
The third option is to select a number of images in a folder, right-click and then select "create web share". In the example below, we have started from a folder and started creating a web share.
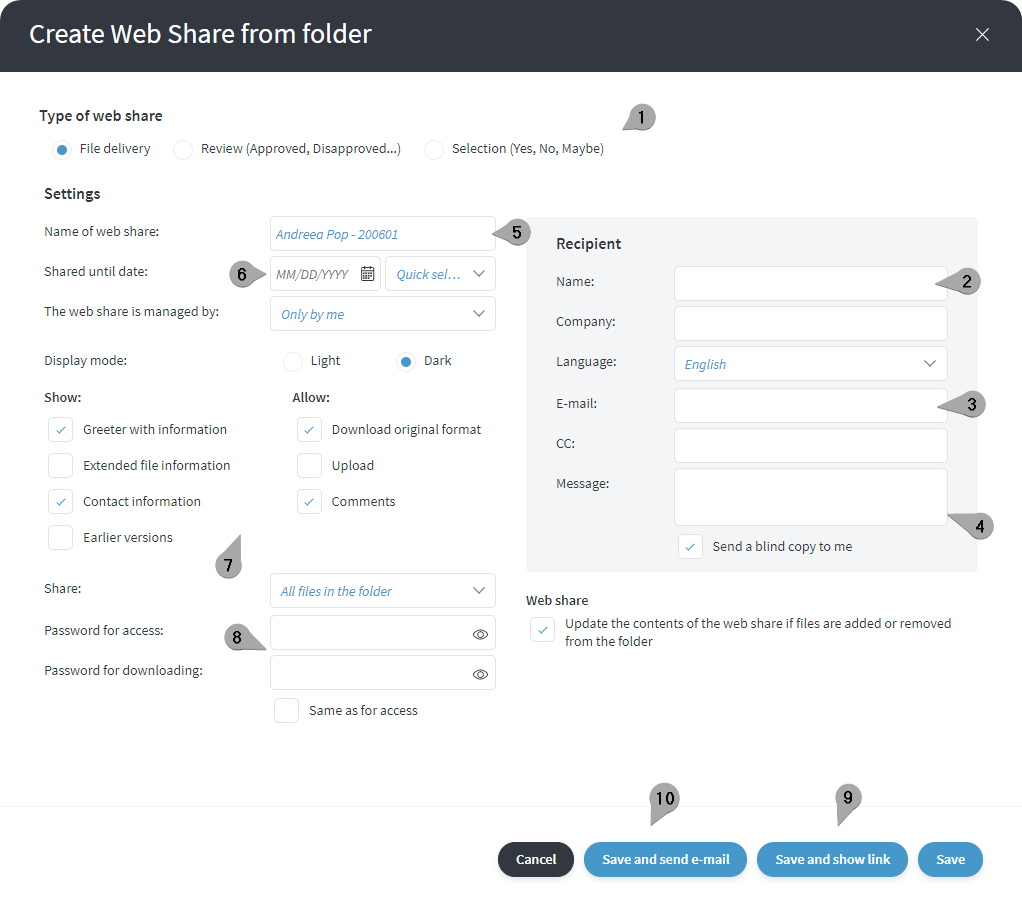
- Here you can choose the type of web share you want to use.
- Here you enter the name of the recipient.
- Here you enter the email address of the recipient. (*)
- Here you can write a message that will be visible when the recipient opens the web share.
- With a name on the web share, it is easier to find in the list of active web share.
- Here you choose how long you want the web link to be active, if you want to limit it.
- Here you can select various settings such as welcome box, allow downloading of originals and uploading among other things.
- Here you can set passwords for accessing web shares and for downloading files in the web share.
- This button saves and displays the web share.
- This button saves the web share and sends an email to the recipient you specified in step 3.
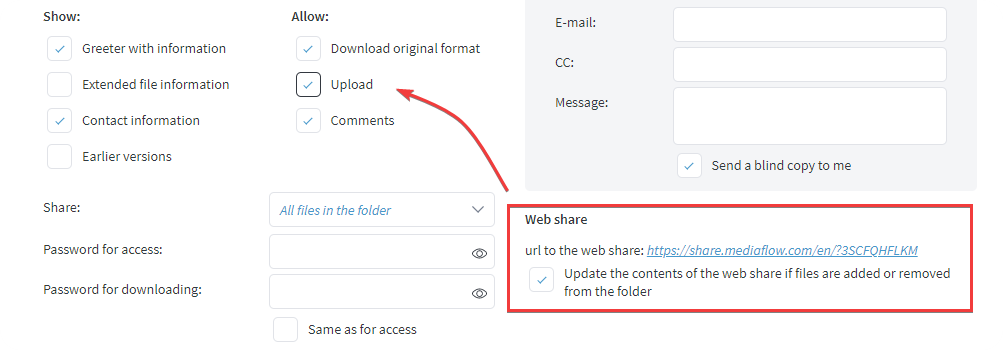
To be able to create web shares with upload (From folder or selection), the web share must first be checked as dynamic!
(*) Please note that the e-mail sent with the web share may in some cases get stuck in spam filters, depending on how strictly the recipient's spam filter is set. (*)
When you are done with the web share, click on save and send an email, only save or save and view web share. The last option you can choose if you only want to receive the link directly to forward if there are several recipients or someone you do not have an email address for. (For example via social media) You will then receive the following text:

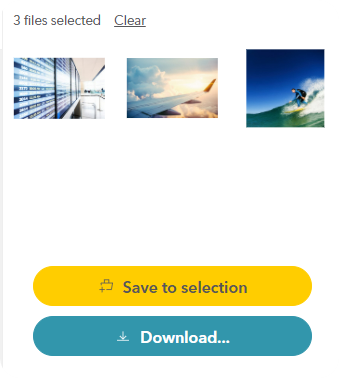 The fourth option for creating a web share is via the portal. Once you have selected the photos you want to share via a web share, click the Save in Selection button. Then the images will be placed in a selection just like inside Mediaflow.
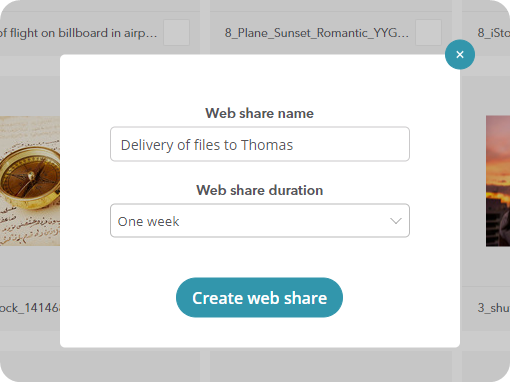
When you view your selection, you can click on create web share and you will then see the box below. Now you can name your weblink and choose the validity period. This is the "simplest" form of web link we currently have.
How do I use a Web share with uploading enabled?
Keep in mind that an upload web share only works once you have created it from a folder or selection. The reason is that the system needs to know where the new files will end up.
When the web share is created and sent, all you have to do is inform the recipient that uploading to this web share takes place by "dragging and dropping" files in the web share itself or by browsing (searching for images on the computer) See below.

The recipient can now drag their files from their desktop and drop them in the window above, after which the files are uploaded to the web share and thus to the folder from which the web share was created.
Back in Mediaflow, we now see the images in the folder from which the web link was created.

There are many uses for an upload web share. One way that many customers use them is to have an upload web share that is linked to a folder for, for example, an external photographer. You then send the link to the photographer, which means that he or she can upload photos from their laptop after an event, from a trade fair or similar.
Worth knowing about web shares
A web share has its own graphics engine, which means that it can display and play all kinds of file formats. You can thus create a web shares with PDF documents, JPG, PNG image files, Video files and much more and all these will be able to be displayed and played in the web share.
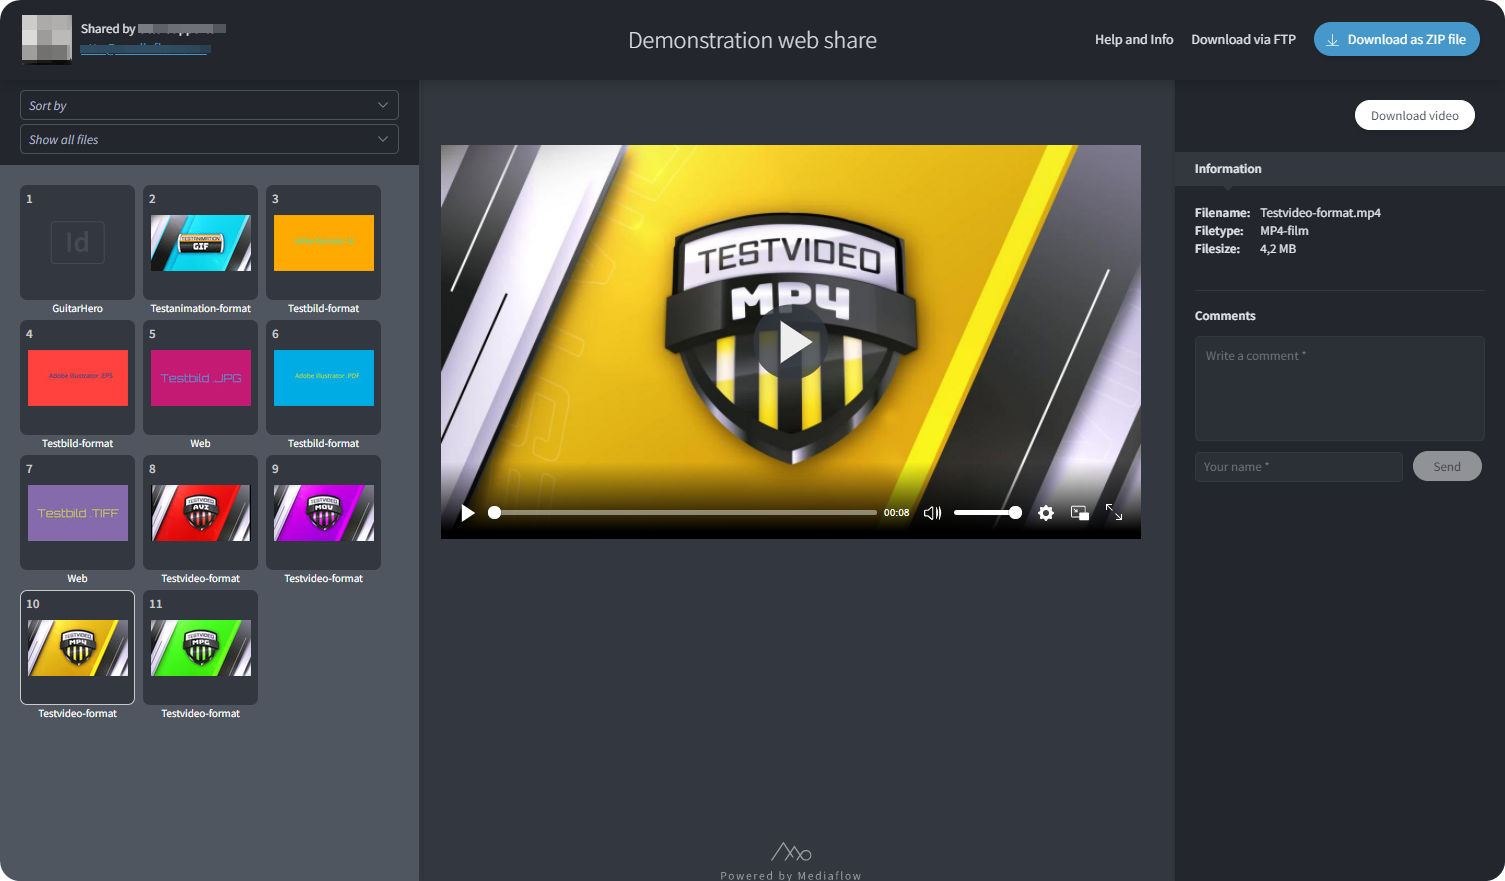
This means that you can send material for example from Adobe Photoshop to an employee and that they can review this material via the web share without having Photoshop installed on their computer. You can also comment on images plus much more. All of this makes web shares a very powerful tool in your daily business.